 I'm not sure exactly how old it is; I *think* I bought it after we moved into this house, which would mean it's no more than 10 years old, but I found some photos with the current cover in 2007 and it was already rather marked up. It was, I believe, the 3rd ironing board cover I have used since we got married in 1980.
But over the years, water stains, odd bleeds and mucho fusible residue had left its mark. I had gotten to the point where I was laying an old shirt over the cover to keep it from marking white fabrics.
So, when I was in Target a couple of days ago and happened to walk through the homegoods section, I spied ironing board covers and got one. No print comparable to the sky-and-clouds that makes me smile, so I got a plain one.
For some reason I decided last night that it was time to do the switch. I pulled the iron stand and cord support off, unclipped the drawstring and released the velcro straps and pulled it off.
And was astonished to see that the inside of the cover was just as nicely finished as the outside. It was self lined and...oh, my, the seams are all on the inside...could it be???
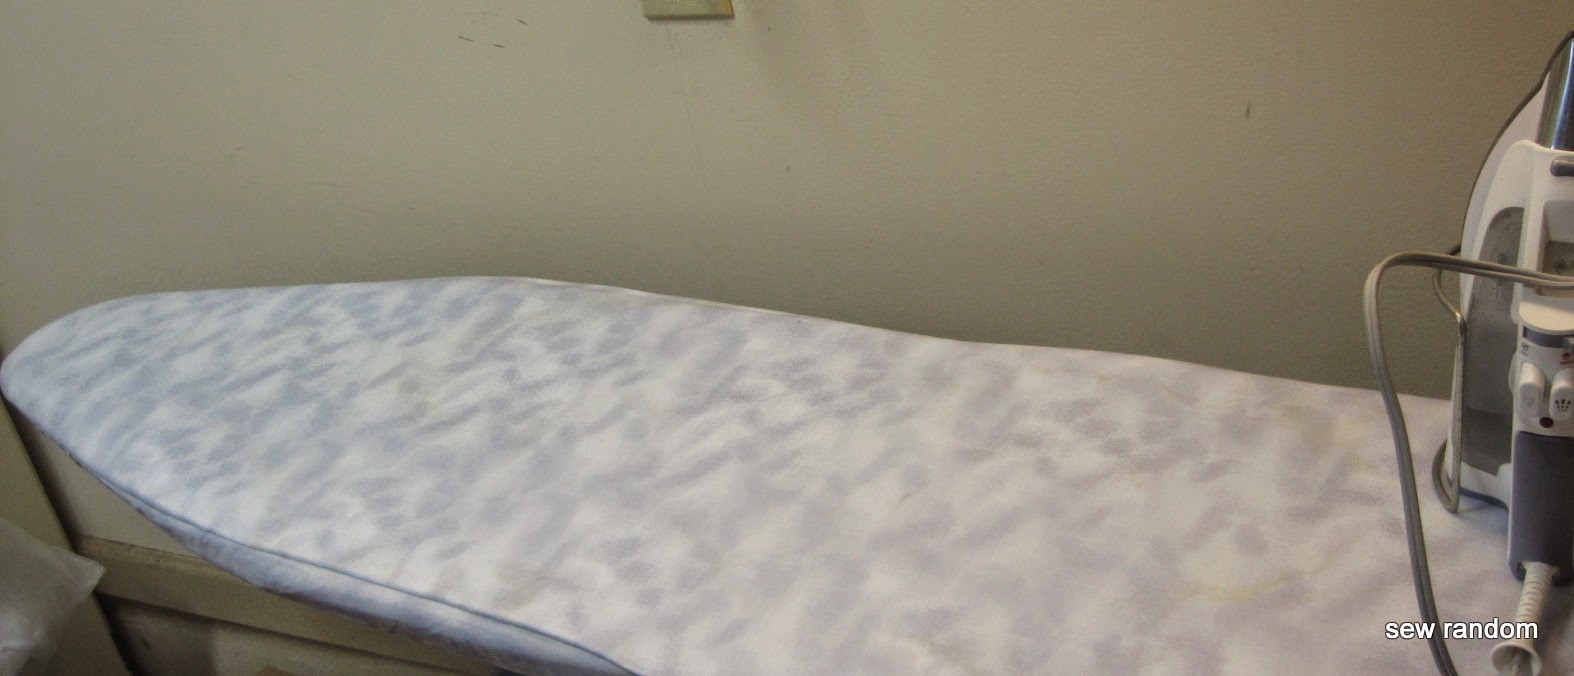
I turned it inside out and put it back on the board. Except for wrapping the velcro straps backwards, with the free end next to the board, it was completely reversible. I had a nearly ...a few water marks had bled through...new looking cover right there.
I put the other one in the cabinet for use at a later date and commented to my hubby I had purchased a better cover than I knew.
Then he asked me if I replaced the pad.
See, he's gone on a wool blanket kick. First he made his capote from a wool blanket, then he began scouring ebay for good deals on wool blankets. He made another capote for a friend, but the blankets have piled up. One of them was a green army blanket, which turned out to be too small for his purpose, so he gave it to me for an ironing board pad.
I'd forgotten about it.
But, whilst I had the clamped accessories off the board, it seemed a good time to add the wool padding, so I pulled out the blanket, washed and dried it on hot to felt it up some, then cut it out, using one of the old poly pads as a guide (I actually had 3 pads on the ironing board...the original one, the padding from the second one, and the padding that is built into the current cover)


It might take me a while to get used to the smell of the wool under the steam iron, though...
And, I might have enough of the wool to make a button-in lining for my trench. Maybe. ;-)
I use a piece of washed wool blanket under my ironing board cover and I actually like that smell...reminds me a little of wool mittens drying in the house after a day in the snow. Right now I need to make new padding and a cover for my much loved sleeve board. I dislike "functional" sewing but am always so happy once it is done.
ReplyDeleteOh! You have just reminded me that I have a sleeve board and mini size board that were salvaged from a collapsible (read 'always collapsing') set...I ditched the tefflon cover and the hinge that never would stay up, with the intention of making a pad and cover so I could use it for sleeves and trousers. And I had forgotten all about it. Mayhap that's what I'll use the leftover blanket for...
Delete